
Why Lighting Matters More Than Your Camera
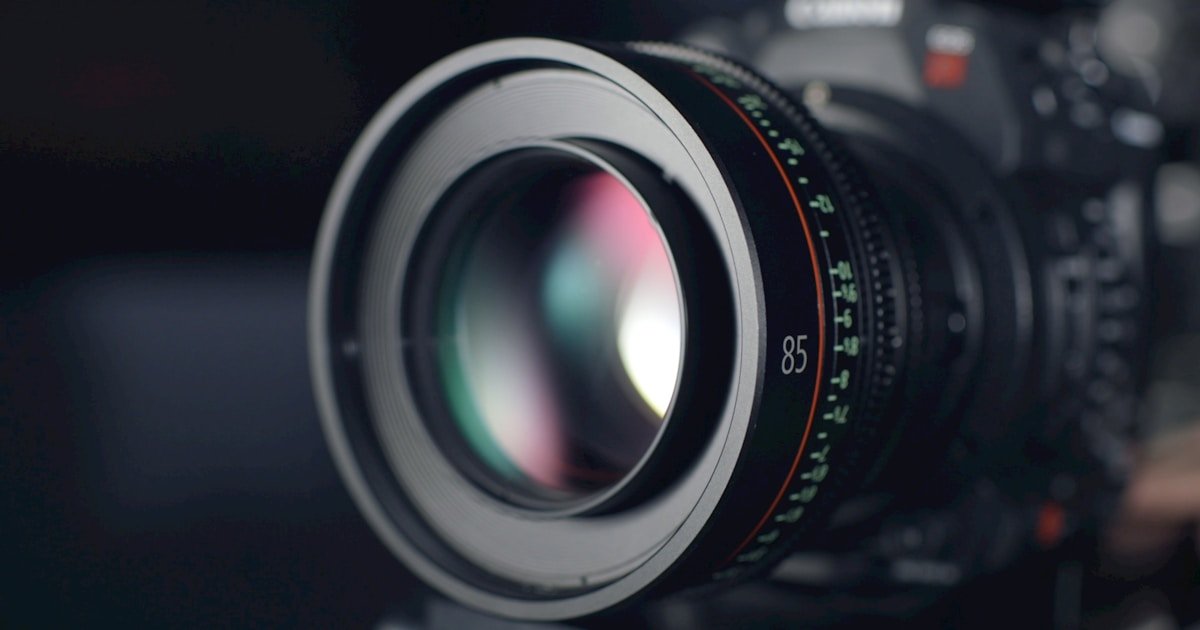
You don't need a $4,000 cinema camera to shoot stunning video. Even an expensive camera lens generates noisy, grainy footage in poorly lit rooms. Investing time in proper video lighting elevates smartphone footage instantly!
The Classic 3-Point Lighting Setup
1. The Key Light (Primary Light Source)
- Positioned at a 45-degree angle to the side of your camera and slightly above eye level.
- This light provides main subject illumination and creates pleasing shadow depth across the face.
2. The Fill Light (Shadow Softener)
- Placed on the opposite side of the key light at a lower intensity (roughly 50% power).
- Softens harsh facial shadows created by the key light without eliminating depth entirely.
3. The Hair / Rim Light (Background Separation)
- Positioned behind the subject pointing down at the head and shoulders.
- Creates a glowing edge outline, visually separating you from dark background walls!
Bonus Tip: Use Practical Background Accent Lights
Place warm desk lamps or RGB LED light bars in the background frame to add visual depth and vibrant personality to your home studio setup.